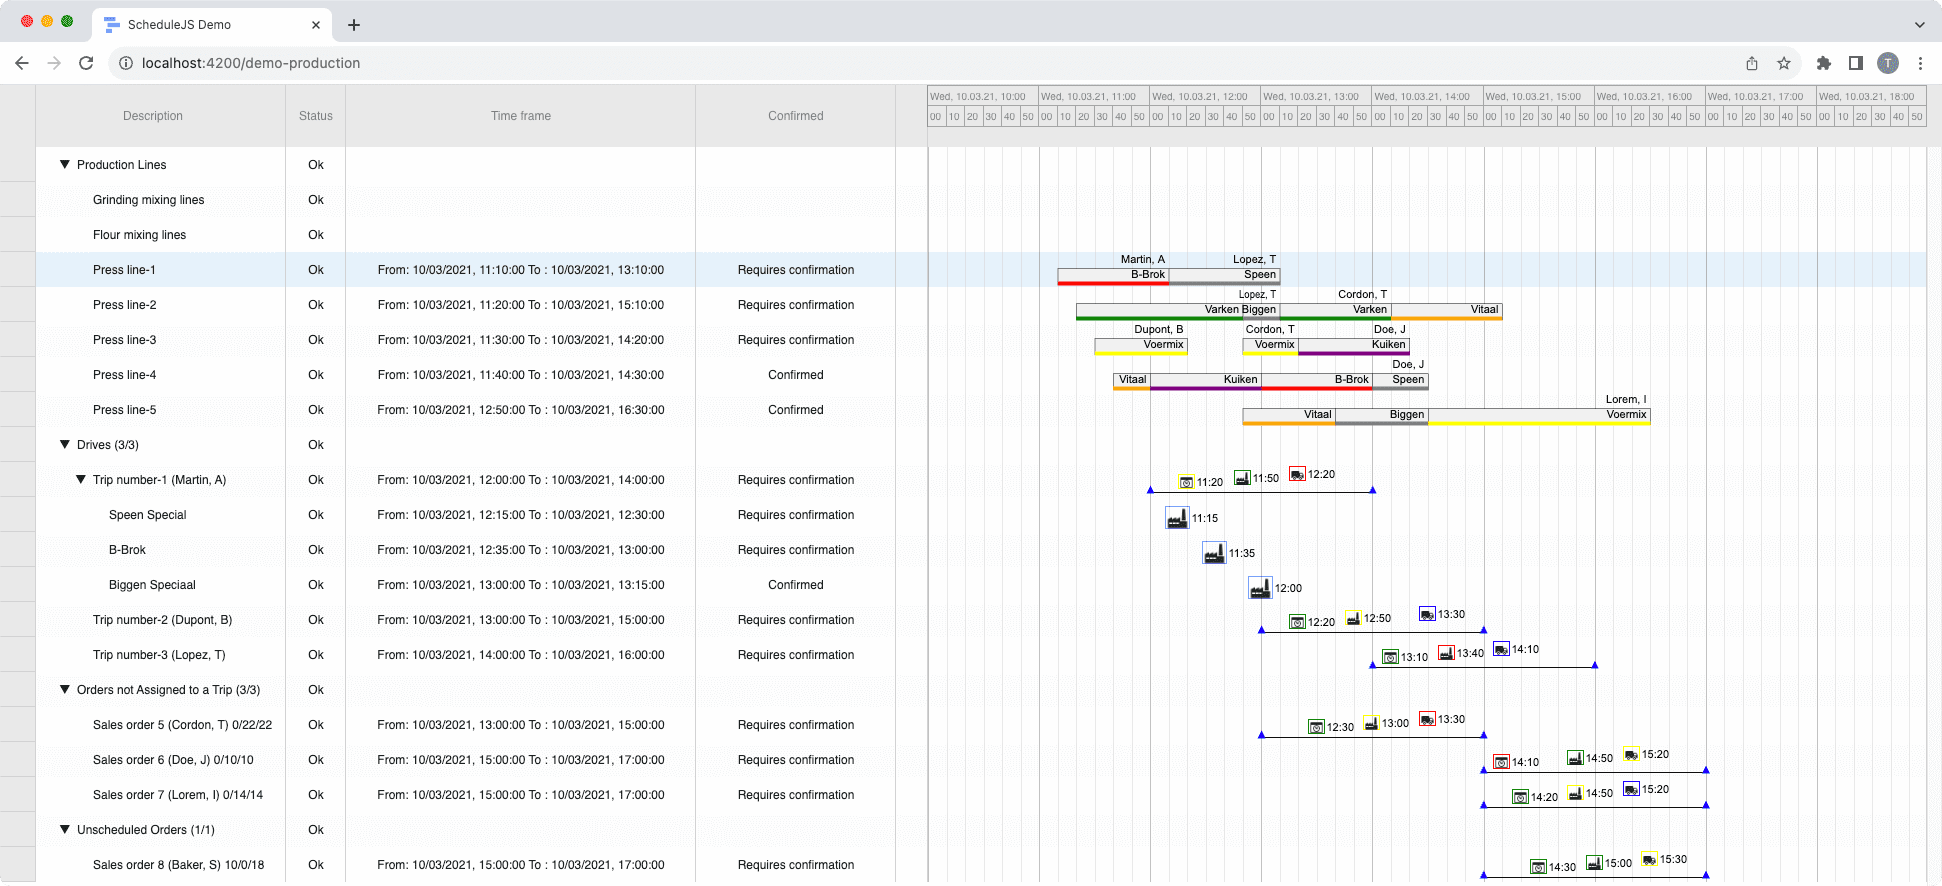
Build custom tree tables in ScheduleJS using schedule-info-column-header-cell and schedule-info-column-row-cell components.

Real time rendering with web-sockets
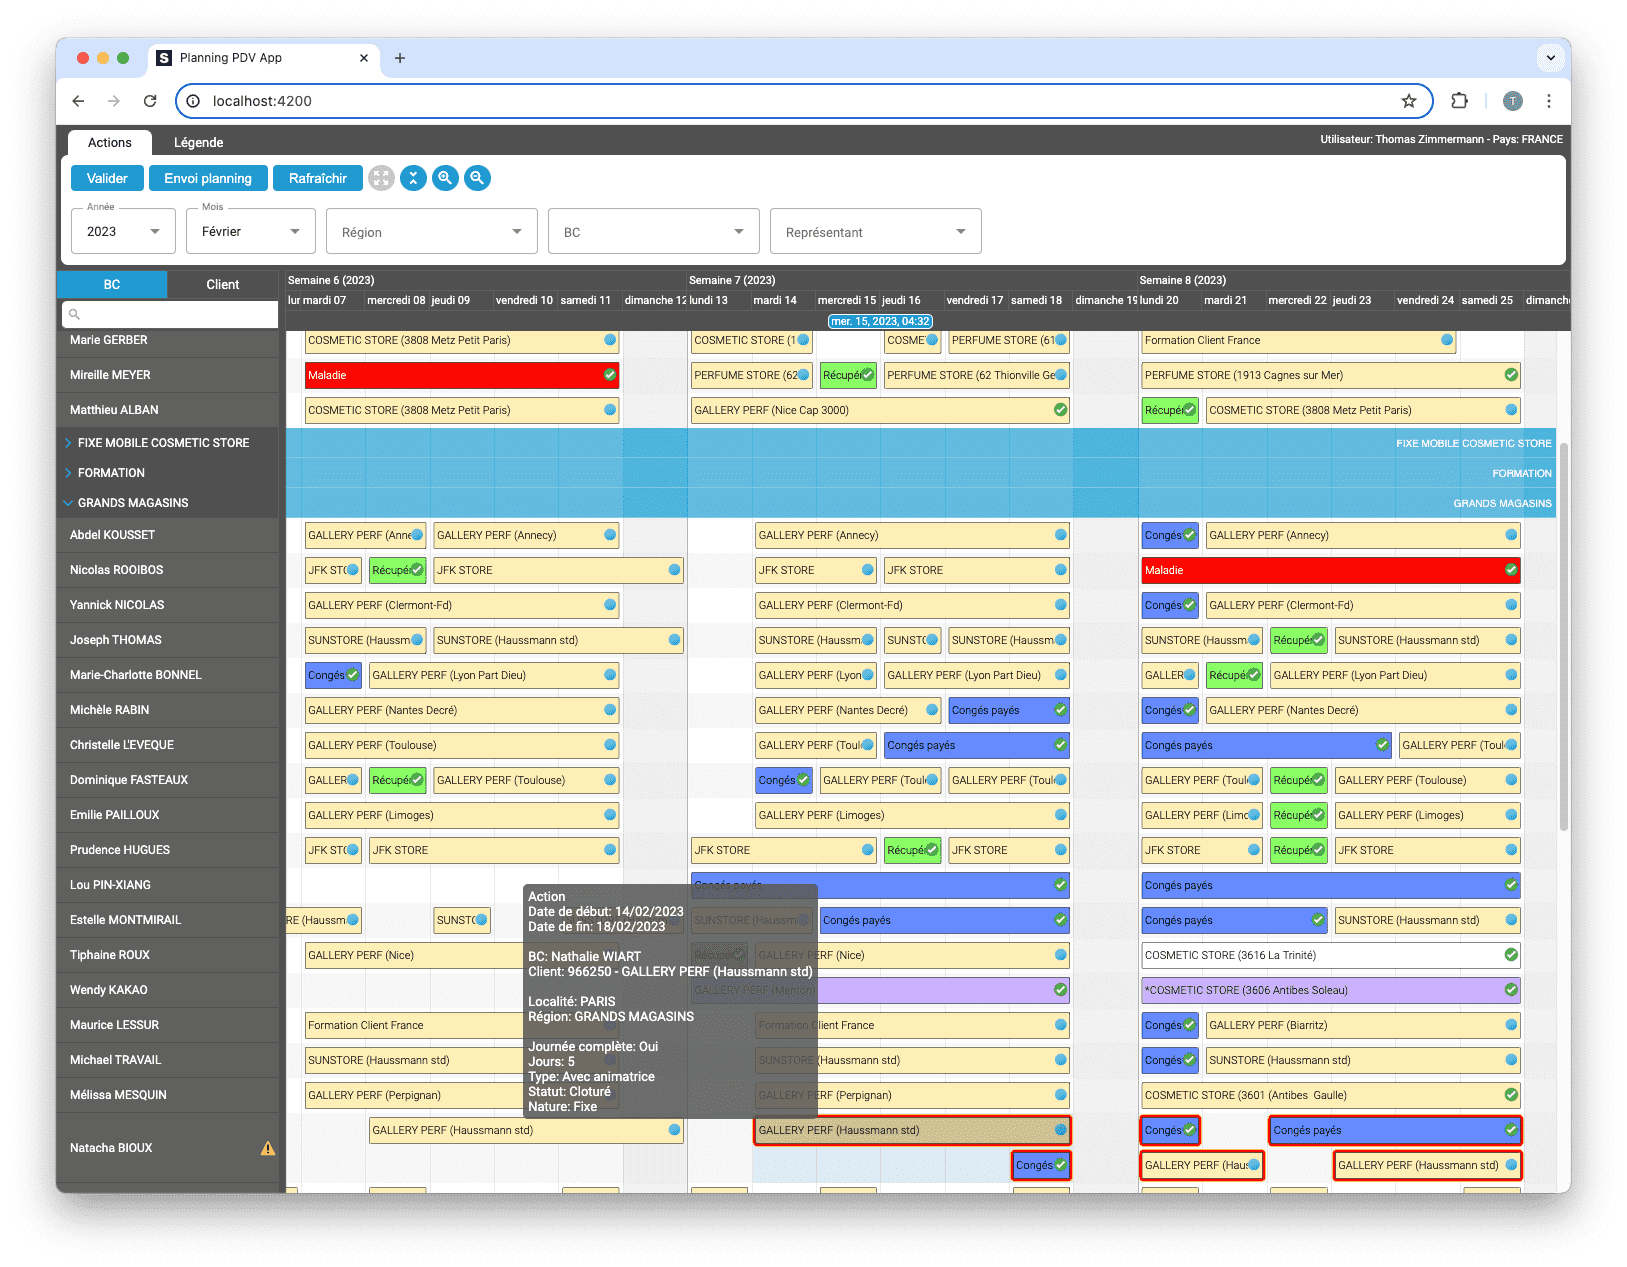
Associating the WebSockets technology with ScheduleJS allows to build graphics that are always up to date with the latest information available. This article covers how to bind server sent events with the ScheduleJS rendering engine to reactively redraw your graphics in real time.
Friday, March 3rd, 2023 - 3 minutes read
What is a WebSocket?
According to the Mozilla documentation, the WebSocket API is an advanced technology that makes it possible to open a two-way interactive communication session between the user’s browser and a server. With this API, you can send messages to a server and receive event-driven responses without having to poll the server for a reply. WebSockets are supported by all the recent web browsers.
Creating a simple WebSocket service with Angular
There are multiple node modules that can help you to implement WebSockets in your Angular application. An easy way to work with WebSockets in Angular is to create a RxJS Observable that will send events to the application whenever new content is pushed through the socket. A popular Angular library proposing a clear API to do the job is ngx-socket-io. Let’s create a service that we will use to expose the Observable in order to subscribe to it and a function to disconnect from the socket.
The service API is pretty straightforward, letting us implement more logic later on if we need it for tasks such as processing the received data, validation… etc.
Handling the WebSocket lifecycle
The following code will give our Angular component the opportunity to react to the socket events by registering an event handler in the form of the _updateVisitors method. Once the component is no longer used by the application, the WebSocketService will disconnect the socket with the ngOnDestroy lifecycle method.
Graphics rerendering
The ScheduleJS rerendering API can trigger your graphics to rerender just by using the gantt.redraw method. Depending on the layer you are working on, multiple rerendering methods and options will let the developer optimize this process to ensure the best end user experience.
That’s it! Your graphics is now rerendering instantaneously to give its users real time information.
More implementation-related articles
Unlock flexible row management in ScheduleJS: control individual row heights, mix GanttLayout and ChartLayout in the same view.
Master drag and drop in ScheduleJS: render activities while dragging, access the drag canvas via DragViewTransversalSystemLayers.
ScheduleJS 1.4 release notes. A step forward towards modern Angular app building.
Angular 16 vs Angular 18 comparison: discover what's new in Angular, the arrival of signals, Zoneless mode, zone coalescing, and their impact on your projects.
Discover the Angular Rome Conference: workshops, domain-driven design, signals, state management, micro frontends.
Discover Angular 18: zoneless mode, zone coalescing, native await, and TypeScript 5.4 compatibility.
The TOP 3 JavaScript Gantt chart. Discover their features, advantages, and disadvantages to choose the best tool for your project.
Discover how ScheduleJS seamlessly integrated with Selligent CRM, enhancing scheduling efficiency for a leading beauty brand's consultants.
This article showcases the integration of a ScheduleJS component into an external Ag-Grid table, to demonstrate the flexibility of ScheduleJS.


