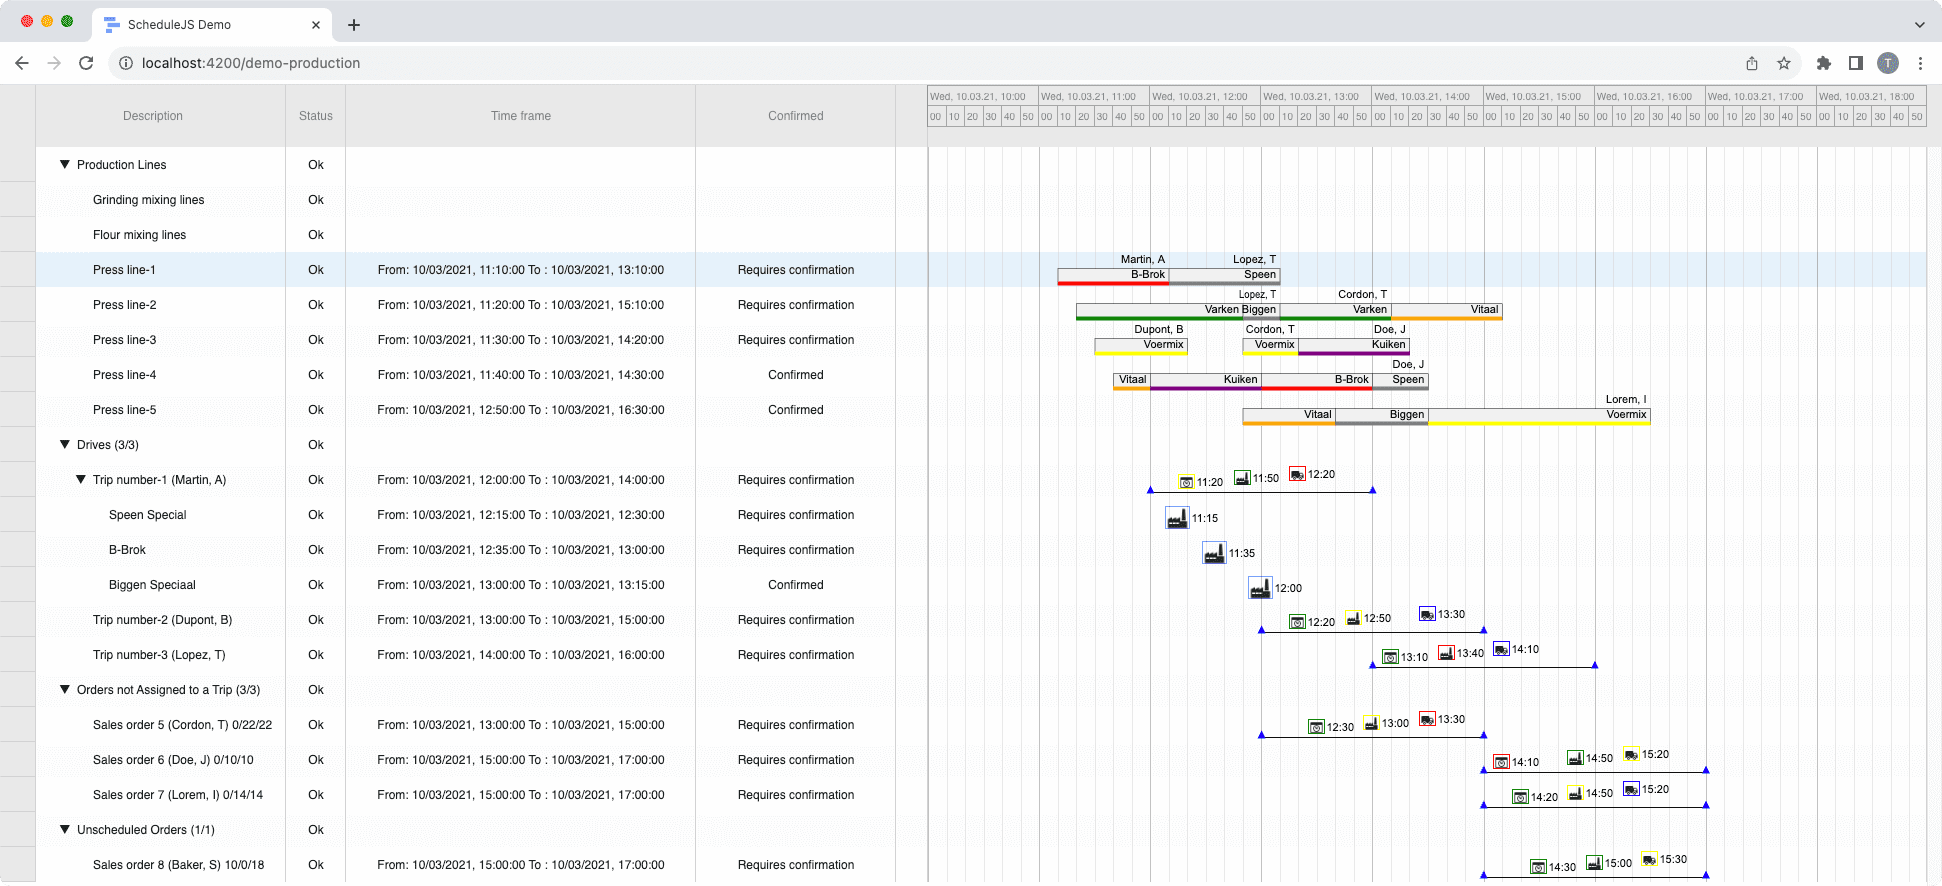
Build custom tree tables in ScheduleJS using schedule-info-column-header-cell and schedule-info-column-row-cell components.
Angular 18: New features in Angular that lay the foundations for the future
March 29th, 2025 - 5-6 minutes read
Introduction
The Angular framework continues to evolve, with each new version bringing its own set of innovations. Released in May 2024, Angular 18 is a pivotal version that paves the way for future profound changes to the framework. In this article, we will explore the new features of Angular 18, understand their impact on developers, and see why this version is a key step before the developments of Angular 19 and 20.
Zoneless mode (developer preview)
Traditionally, Angular uses Zone.js to detect changes and refresh the UI. With Angular 18, a first step has been taken towards an Angular without Zone.js.
In zoneless mode, you must manually trigger change detection, which gives you more control and improves performance in complex applications.
Example in Zoneless mode:
This code shows a counter based on Angular 18 signals. The count signal stores the state, an effect logs every change, and the increment() method updates the value. Since zoneless mode is used, change detection must be triggered manually with this.appRef.tick(), providing greater control and improved performance.
Zone Coalescing enabled by default
Angular 18 enables zone coalescing by default, an optimization that groups multiple change events into a single detection cycle.
The result: fewer change detection cycles and therefore better overall performance.
Developers get this improvement automatically, without needing to modify their code.
This component defines a simple form with two fields linked to firstName and lastName using two-way binding (ngModel). Each time something is entered, Angular automatically updates the component’s properties and redisplays the complete value in the paragraph. With Angular 18, zone coalescing, which is enabled by default, groups these updates together, making rendering smoother and more efficient.
A more robust Router
The Angular Router also evolves with Angular 18. The goal is to make navigation more reliable and more flexible. Among the improvements are finer control of guards and better support for route pre-activation.
In Angular 18, the Router has been enhanced with:
Improved guard handling
More flexible pre-activation
A stronger foundation for SSR and future hydration features
Example with a simple guard:
This example shows an Angular guard used to secure a route. The AuthGuard class implements CanActivate and checks if a token is present in localStorage. If the token exists, navigation is allowed; otherwise, it is blocked. In the routing file, the /dashboard route is protected by this guard, meaning only authenticated users can access it. This is a common practice for handling security and conditional access in an Angular application.
Native support for await in Zoneless mode
With Angular 18, it is now possible to use await directly inside templates when the application runs in Zoneless mode.
This greatly simplifies the way asynchronous code is written.
Example: loading data from an API and displaying it without extra boilerplate.
This component illustrates asynchronous data handling in Angular. The fetchUser() method retrieves a user from an external API and returns a promise. In the template, the async pipe is used to wait for the promise to resolve: if the data is available, it displays the user’s name and email; otherwise, Angular shows the loading template. This approach makes the code clear and reactive, without the need to manually manage subscriptions.
Conclusion
Angular 18 is not a revolutionary release, but it represents a strategic turning point. By introducing Zoneless mode in preview, improving Router handling, and strengthening template validation, this version lays the groundwork for the major advancements confirmed in Angular 19 and especially Angular 20.
For developers, Angular 18 is a preparatory release:
It already delivers better performance thanks to default zone coalescing.
It introduces key concepts (Zoneless,
awaitin templates) that will soon become the standard.It helps teams get familiar with Angular’s evolving reactivity model, before the arrival of fully stable signals in Angular 20.
In short: if you want to stay up to date with the latest Angular features and prepare your applications for the future, Angular 18 is a step you shouldn’t overlook.
More implementation-related articles
Unlock flexible row management in ScheduleJS: control individual row heights, mix GanttLayout and ChartLayout in the same view.
Master drag and drop in ScheduleJS: render activities while dragging, access the drag canvas via DragViewTransversalSystemLayers.
ScheduleJS 1.4 release notes. A step forward towards modern Angular app building.
Angular 16 vs Angular 18 comparison: discover what's new in Angular, the arrival of signals, Zoneless mode, zone coalescing, and their impact on your projects.
Discover the Angular Rome Conference: workshops, domain-driven design, signals, state management, micro frontends.
Discover Angular 18: zoneless mode, zone coalescing, native await, and TypeScript 5.4 compatibility.
The TOP 3 JavaScript Gantt chart. Discover their features, advantages, and disadvantages to choose the best tool for your project.
Discover how ScheduleJS seamlessly integrated with Selligent CRM, enhancing scheduling efficiency for a leading beauty brand's consultants.
This article showcases the integration of a ScheduleJS component into an external Ag-Grid table, to demonstrate the flexibility of ScheduleJS.


