This article will show you how the parent-child tree Gantt architecture within the ScheduleJS Viewer was built.
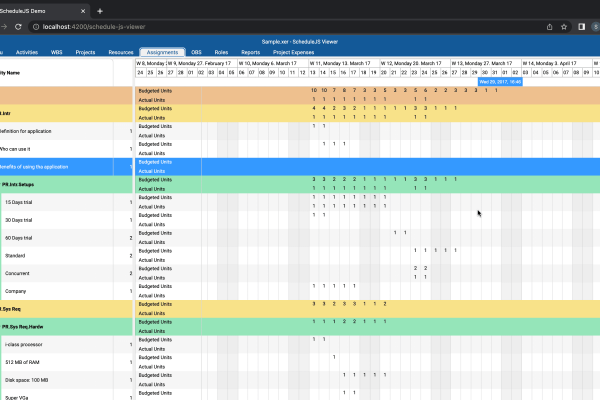
Dynamic rendering: Zoom-level
Renderers can adapt programmatically to the application state and result in different ways of drawing your activities. This article will cover the AssignmentActivityRenderer implemented in the ScheduleJS Viewer and explain its mechanics.
Monday, June 5th, 2023 - 3 minutes read
What are ScheduleJS renderers?
The concept of an ActivityRenderer represents a pluggable renderer dedicated to activity drawing. It focuses on rendering any kind of data in a row. In general, renderers hold drawing strategies related to activities. Note that the ActivityRenderer class extends the Renderer class. This architecture lets the developer fine-tune his drawing strategy at multiple levels while giving access to time and position calculation methods that will help.
The ScheduleJS ActivityRenderer class
Below is an example of how you can create an activity renderer in ScheduleJS:
Here is the list of the three advanced activity renderer classes you can extend to start creating your own renderer faster:
ActivityBarRenderer: used in Gantt layouts, it represents a bar on the graphicsChartActivityRenderer: handles chart-related drawings with a vertical dimensionCalendarActivityRenderer: draws behind the rows and optimized for read-only
Once you are done with designing your renderer, you can register it using the Graphics API:
Designing a Zoom-level dynamic ActivityRenderer
Every ActivityRenderer triggers the inner ScheduleJS drawing engine to draw activities on the screen, letting the developer focus on the high-level decisions for the application. The strategy is to automatically trigger as few redraws as possible when you are operating on the graphics. You can also request manual redraws for specific use cases like data loading, real-time updates, and indirect relations. Doing so allows the developer to optimize the rendering strategy and offers higher resolution and performance.
This article will focus on the AssignmentActivityRenderer of the ScheduleJS Viewer.
As you can see below, the AssignmentActivityRenderer is a simple renderer that draws numbers on the canvas to indicate the Budgeted Units and Actual Units of a project or a task.
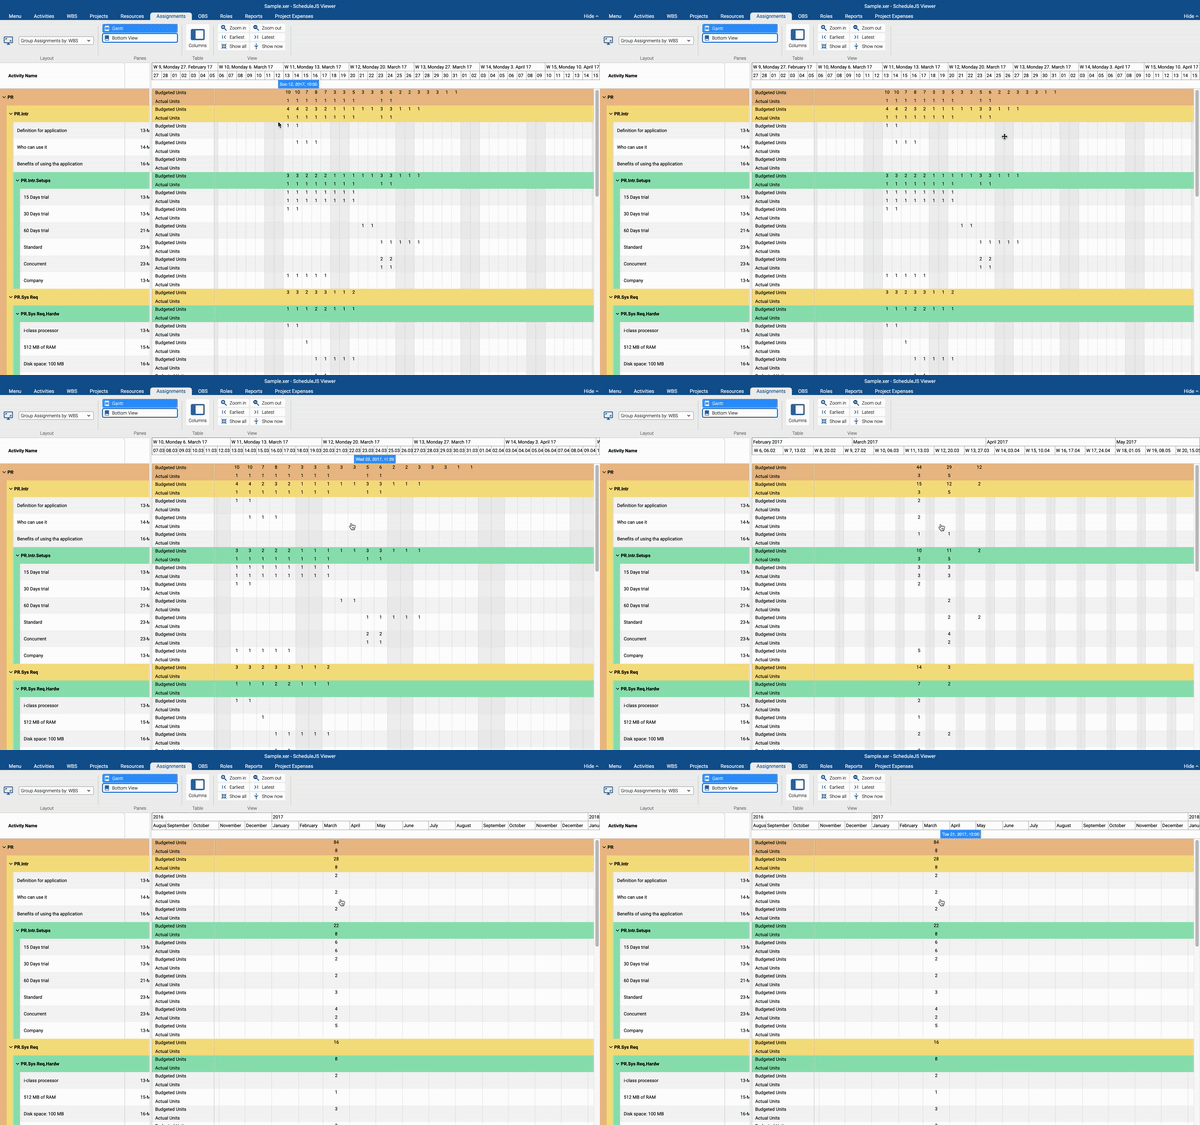
Depending on the Zoom-level, we want to visualize the assignments business units per day, week, and month. To implement this in a simple way, we relied on the powerful ScheduleJS internal data structures and decided to calculate additional activities for all the available timespan.
The .xer data structure only indicates daily values so we had to create the weekly and monthly values by clumping the corresponding daily values. To handle this, the ScheduleJS Viewer uses a temporalUnit field in its AssignmentActivity model to indicate which AssignmentActivity corresponds to which ChronoUnit.
Now we have to tell the renderer which resolution is currently used. To do this, the Dateline API comes in handy.
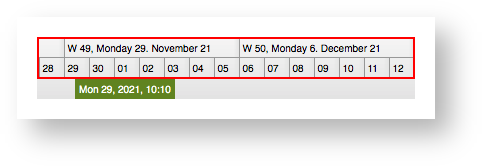
As you can see below, the dateline is composed of two rows:
- The first row of cells gives information on the current timespan (ex: Week 49, Monday 29, November 2021)
- The second row of cells breaks down the top cell in multiple smaller cells (ex: Day 29)
To draw our activities as text, we will use the Canvas ctx.fillText method.
Now, to select which activity has to be drawn at any time, we decide to trigger this method conditionally after we confirmed the activity temporalUnit is the same temporal unit used by the Dateline 2nd row cells. As the renderer draws every frame, adding this condition to our renderer will only draw either the Monthly, Weekly, or Daily AssignmentActivities at a given time.
A few words on the ScheduleJS data structure
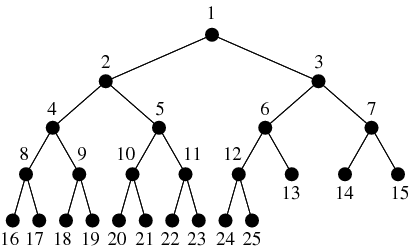
Graphics in ScheduleJS are made to support millions of activities at any given time. To make sure our graphics keep the best performance possible, ScheduleJS implements a binary tree representation of the data in memory to quickly access any activity node and reduce processing time.
The implementation described above takes advantage of this feature to calculate and store every information required for the graphics before runtime to further increase navigation smoothness.
This example is a simple use case of a dynamic renderer. The Zoom-level is just one of the various public variables that you can find in a ScheduleJS application. The same logic can also be applied to any external variables to draw conditionally and build your own user interface and experience.
More ScheduleJS Viewer-related articles
This article will showcase how the main activity renderer of the ScheduleJS Viewer was built with code examples.
This article presents the main features included in the ScheduleJS Viewer. A brand-new web-based project viewer.



Super interesting article and shows a super useful feature.
Thanks CodeCrafter! Still, this use case is very basic. The whole idea behind this feature is to adapt the visual to the current timeline scale, so you can render meaningful information even if zooming out very far